The RV Preparation Checklist
• Check the RV batteries and make sure they have a full charge
• Flush the RV water system and refill with potable water
• Check for any water leaks
• Check RV Appliances
• Check RV Tires
• Check Fluids in Engine and Generator and Change As Needed
• Inspect The Seams & Seal
• Perform A Full Safety Check
1. Check the RV batteries
Batteries are a great place to start your spring spruce up. Batteries lose up to 10% of their energy per month when in storage and not in use. It’s important to make sure your batteries are fully charged your batteries and have the correct water levels (check your battery manual). If the batteries were removed for storage make sure they are reconnected correctly. Remember! Batteries can be dangerous. Take every precaution, and if you aren’t comfortable messing with them have a service engineer do the process for you.
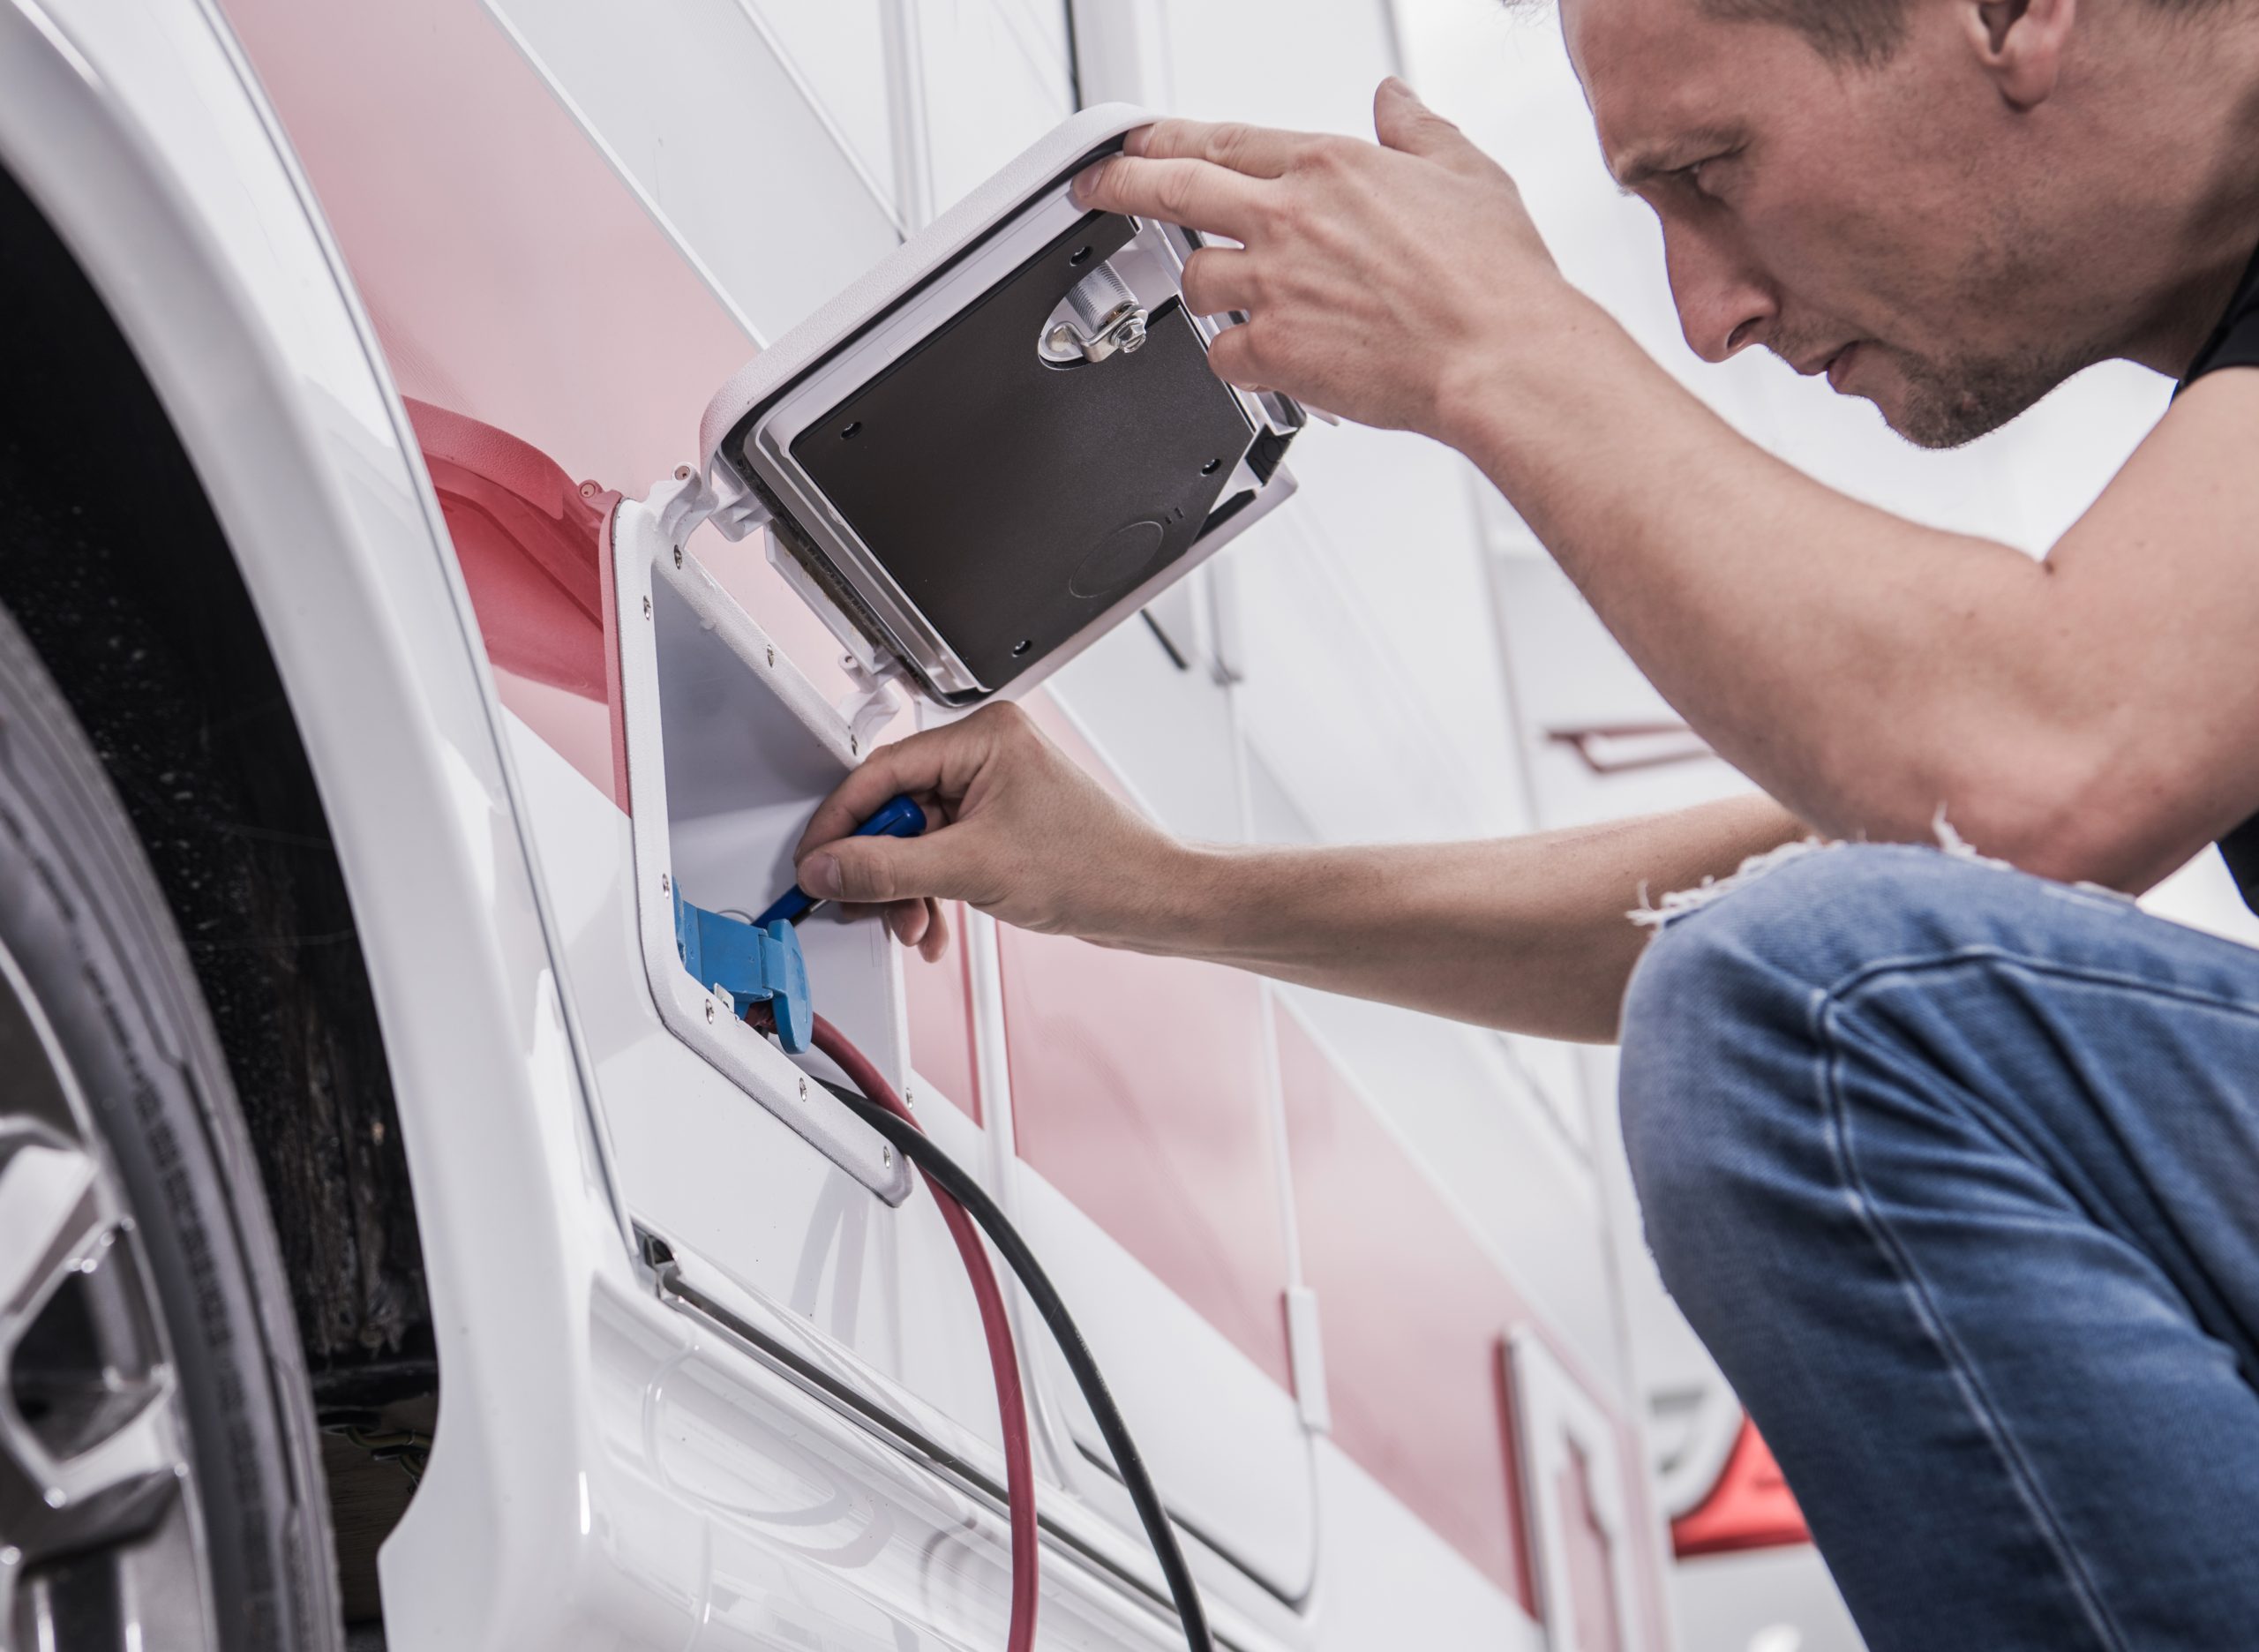
2. Flush The RV Water Tank, check for leaks and sanitize
• Connect one end of your drinking hose to city water and the other to the RV.
• Run the water continuously through the entire system. You want to remove every trace of the non-toxic RV antifreeze you used to winterize.
• If you have an outside shower hose, be sure to flush that as well.
• If for any reason your freshwater tank had antifreeze added to it you will need to drain off any remaining water from the tank.
• Next, add fresh potable water and turn the water pump on. Open every faucet in your RV and keep the water running until the water runs clear.
• Once clear water appears you can turn off the pump and close the faucets.
• Fill the water heater tank with potable water and flush that system out with fresh water. There should be no remnants of antifreeze in the system.
• Once the system is completely flushed you can replace your water filter cartridge if you have one.
Now it’s time to check for leaks.
Grab a flashlight and turn on the water pump. Wait until the sound of the pump stops. Once the water pump stops and the water is pressurized you can turn the pump off and begin your search. Look underneath your sink cabinets, around the toilet, and inside your basement compartments. Anywhere water might flow you want to watch for potential leakage. Take your time with this process. If you locate a leak be sure to have it repaired before you leave on your first trip of the season.
• Close all the drains and make sure drain plugs are in.
• Use a quarter cup of household bleach per 15 gallons of freshwater (if your water tank holds 30 gallons you will need a half cup of bleach). Combine the bleach with fresh water in a gallon container and then pour it into your partially full freshwater tank. Fill the water tank completely.
• Turn the pump on and let the water run through the faucets.
• In a short time, you will begin to smell bleach. Close the faucets and let the tank sit overnight.
• In the morning, drain all the water from the tank and fill it with fresh water.
• Turn the pump back on and let the faucets run and run until you no longer smell bleach.
• If necessary, you may want to repeat this process over the next couple of days.
Completing this process will give you peace of mind knowing that your water is clean and fresh every time.
3. Check the RV Appliances
If your RV uses propane (Also called LP gas) you need to check the tanks, the connections, the valve, and the firing operation. Propane is often used to operate the hot water, the fridge, and the stove. If something isn’t working correctly have your system checked by a professional. Make sure to have a leak test and a gas pressure test each year. You want to be sure that this highly important system is working safely.
If you have refillable propane tanks check the dates on the tanks. Most people are unaware that their propane tanks expire and must be re-certified for safety. Check yours annually.
Once your propane appliances are in compliance spending some time checking your microwave, air conditioner, fridge, or any other electric appliance in your rig. Make sure you plug into a solid source of 30 or 5- amp power. Many people choose to park their RV at an RV park while they test out their systems each spring.
4. Check the RV Tires
Tires are a hot topic in the RV industry. Some companies say RV tires should be fully replaced every 5 years. Others claim that if properly cared for they can last 10 years. Either way, you must check your tires to be sure they are ready for the season. Your entire home relies on the safety of these wheels, so give them the attention they deserve.
First, check the air pressure. While in storage tires loose pressure. Check your manual and fill each tire according to the recommended PSI. Inspect each tire for tread wear and cracking especially in the sidewalls. If you have any concerns, be sure to have a professional inspect the tires prior to leaving on a trip.
Don’t let a blow out happen to you. Check those tires!
5. Inspect the RV Engine and Generator
Now we are ready to tackle the engine! Yes, the all-important parts that get you where you want to go deserve some attention too.
Start by checking all of the fluid levels and make sure they are full and fresh. If you don’t know what your coach uses look in your owner’s manual or contact your dealer. Here are the fluids you want to check:
• Transmission
• Power Steering
• Engine Coolant
• Engine Oil
• Windshield Washer
• Brake Fluid
• Generator Oil
If you have low fluids in one area this may indicate a problem or a leak. Take some time to figure out what is happening to the fluid. You will want to service your engine and the fluids on a regular basis. If you have been doing that and you have an issue, be sure to take it in to be looked at before you leave on a trip.
Now check all of your gauges. Are they giving accurate readings?
Check all your lights. Check the lights on your trailer and the connections between your RV and your trailer.
Check your registration, insurance and vehicle emissions sticker. Is everything up to date? If not, stop what you are doing and go get it done!
Your generator has been off for a long time and will need to be served according to the manual. Make sure the oil level is correct before you attempt to start the generator. If you didn’t store it correctly, you may have trouble restarting it. Inspect the exhaust area before starting. Do you see any problems? If not, start the generator and plan to let it run for a couple of hours. It doesn’t have to be on full load, but it needs to run for a while to get the engine ready for the season. The last thing you want is to travel without a generator.
Take the time to make sure everything is working properly.
6. Check the RV Seams
Most people forget about their RV seams. This is a mistake you don’t want to make. Each and every seam has leak potential. If you inspect and reseal the seams one or two times a year you are less likely to have a leak.
Start by inspecting the roof and moving down over the body of the rig. Look for any openings, cracks or forms of damage. Is there any separation? Is there a specific area that shows wear? Use RV compatible sealants and research which type of sealant is best for the material you want to repair. If your roof shows wear you may want to consider having it professionally resurfaced and sealed. Ask your local RV dealer for their personal recommendation. If you plan to work on the roof yourself, please be careful.
7. Explore Your Safety
With the outside complete, it’s time to move back in the RV. You will want to check the following devices and update their batteries or have the items inspected and recharged
• Smoke detector
• Carbon Monoxide Detector
• PL Gas Leak Detector
• Fire Extinguisher
These 7 steps are an essential part of preparing for a safe road trip. Don’t skimp. Take the time to inspect each part of your RV’s system. If you are unable to do the work yourself, book a spring session with a recommended RV technician.
If you’re feeling energetic, consider a spring cleaning in the inside of your coach as well. Here are a few things to freshen up:
• Bedding and Towels
• Rugs
• Blinds or Curtains
• Floors
• Inside the fridge and freezer
• Wipe the pantry and the drawers
• Wipe the shelves
• Wipe cabinets inside and out
• Blankets
• Lawn Furniture
• Wash All Pots, Pans and Dishes
• Clean under the sinks
• Wash the windows inside and outside
• Clean the mirrors
• Toss old toiletries and add new
You may not have time to do every step listed, but this list gives you an idea of what may be needed. Every RV will be different. The key is to set time aside to prepare for the RV season. Don’t wait until the last minute and skimp on your safety. If you’ve completed this simple RV preparation checklist you know you have done everything necessary for a great trip.
What about you? Do you have certain items that you think should be placed on the RV preparations checklist? Are there items that you check on your rig that are not listed above? Share your best tips and tricks to help others.