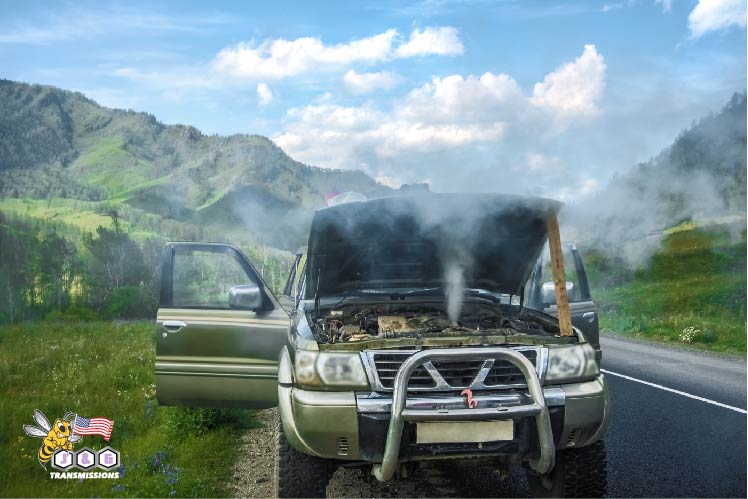
It usually happens when you least expect it—you’re driving along when suddenly your transmission starts acting up. Maybe it’s shifting late, or not shifting at all. Perhaps you feel hesitation when shifting into Reverse. Either way, something’s not right.
The First Step: Rebuilt Transmissions
Your first move is to contact a trusted local transmission shop in Murray, UT. Most will offer a “rebuilt” transmission service, which typically means replacing worn-out or damaged components with original manufacturer parts. While this might seem like a solid fix, it doesn’t always address the underlying design flaws of those original parts. That means you could face the same issue again down the road.
A Smarter Alternative: Updated Transmissions
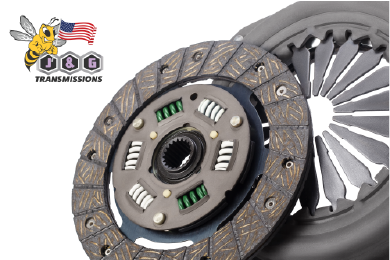
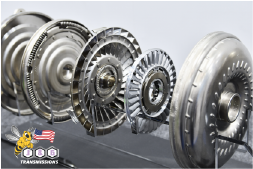
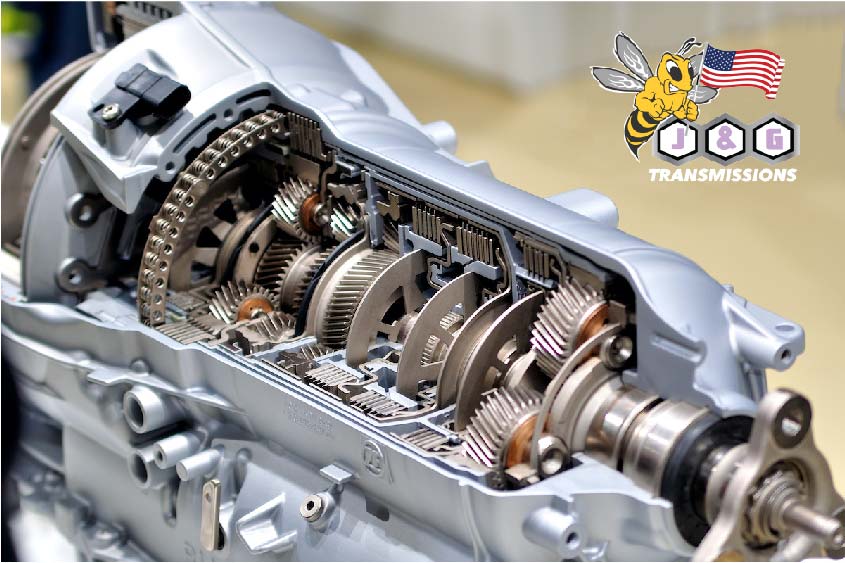
At J & G Transmissions in Murray, UT, we take things a step further. With our “updated” transmission repair, we don’t just swap out parts—we upgrade them. That includes replacing weak OEM components with improved aftermarket versions that are engineered to correct known issues.
Whether it’s better electronics, solenoids, actuators, torque converters, or gear trains, you end up with a transmission that’s more reliable and durable than the original. It’s like giving your car a performance boost where it really counts.
Don’t Ignore That Check Engine Light
Your “Check Engine” light can be an early warning signal for transmission trouble. It could indicate something as simple as low transmission fluid or point to more serious issues. Acting quickly can save you from costly repairs—or even a full rebuild. When that light comes on, bring your car to a trusted technician before the problem escalates.
Why Choose J & G Transmissions?
J & G Transmissions in Murray, UT, served Murray, UT for years with fast, honest, and high-quality service. Most updated transmission jobs are completed within two days, and we provide a clear, upfront estimate before any work begins. Plus, our work is backed by strong warranties that give you peace of mind.
Have questions or ready to book a diagnostic? Call J & G Transmissions in Murray, UTtoday at (801) 262-2321. Let us help you get back on the road with confidence!